Portrait of a tube 6922 Electro Harmonix Author Jac van de Walle |
|
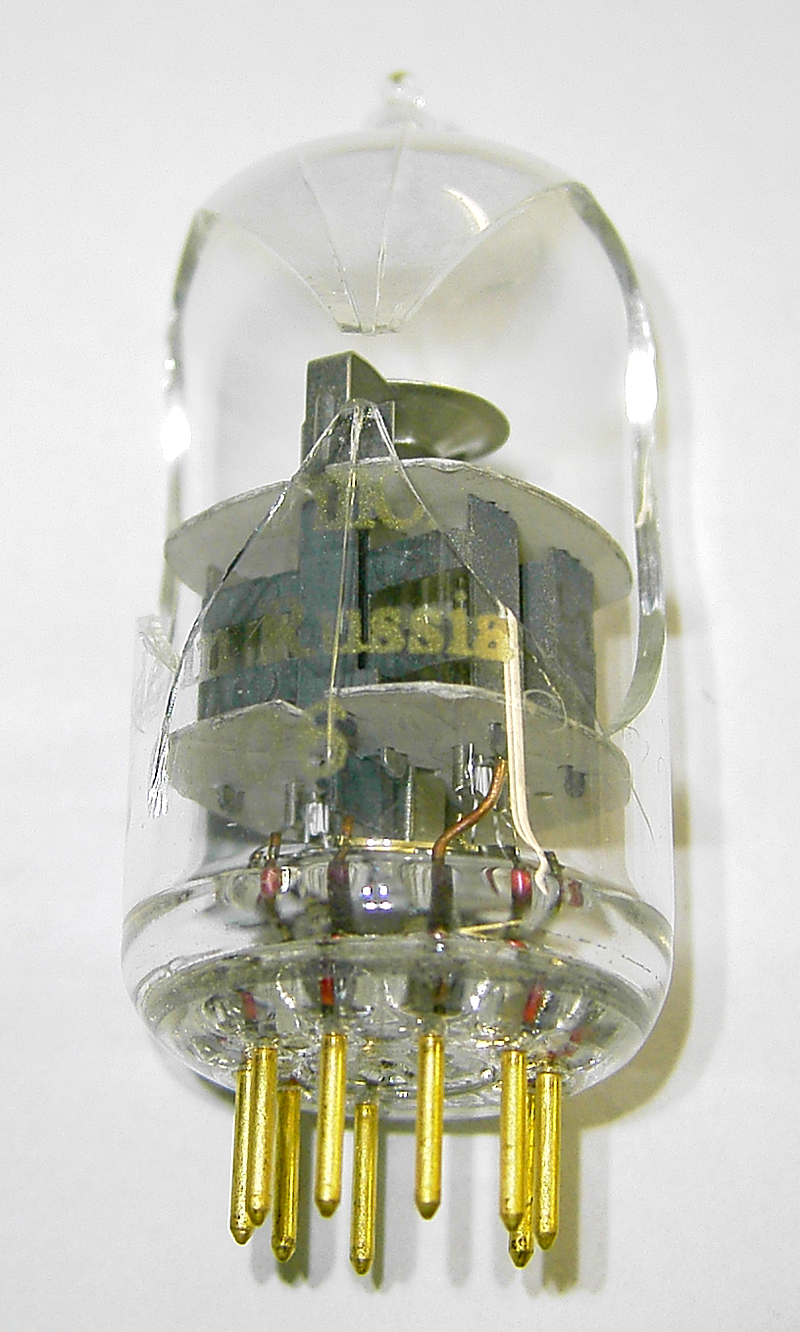 |
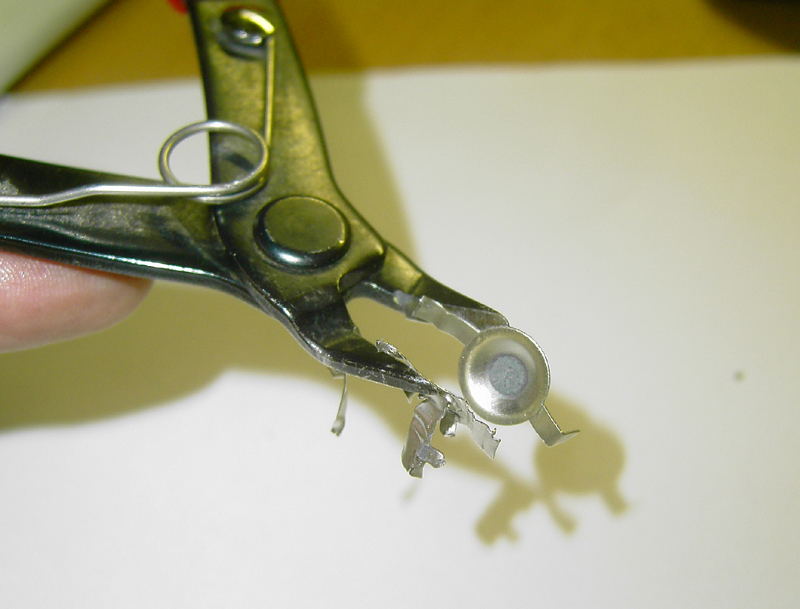
Well, today I broke a tube by accident. Since I get replacements for all defective 6922 from the factory, actually I had no defective tubes to take apart. So now I had a tube for this purpose ;) From the boxed plates, it was expected this is a frame grid tube, but I wanted to check and confirm that. <----- YOU CAN CLICK ON EACH PICTURE, TO ENLARGE IT |
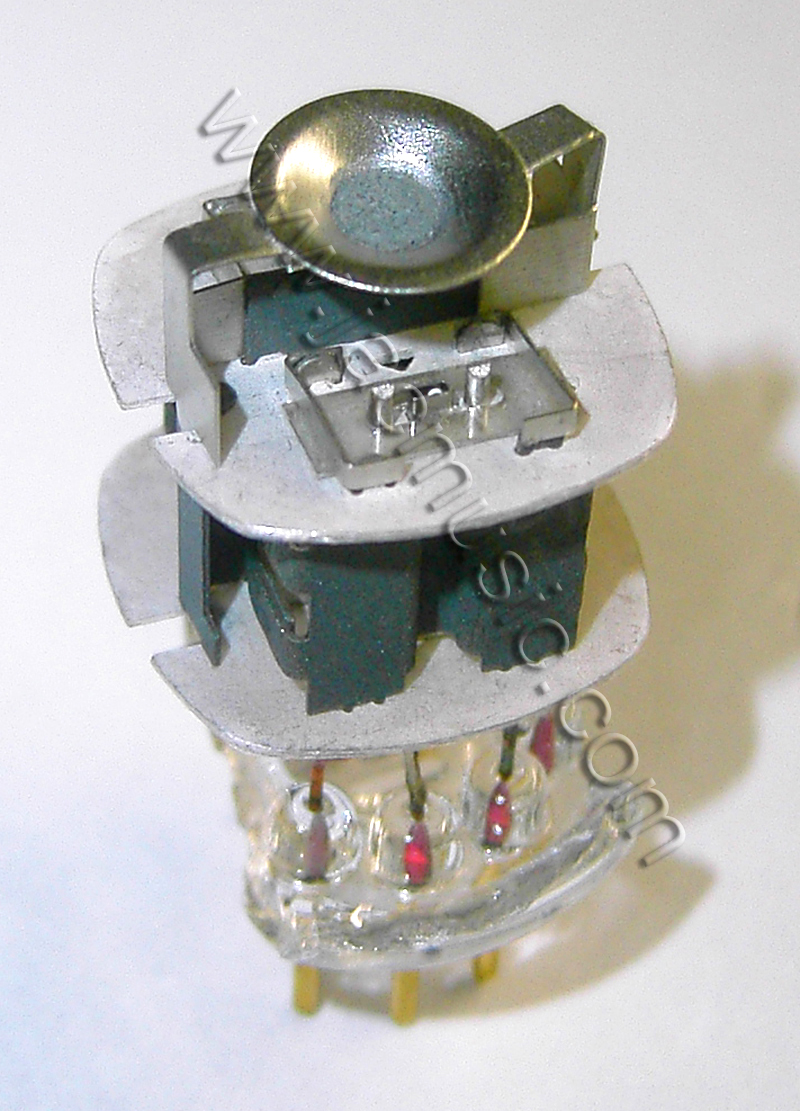 |
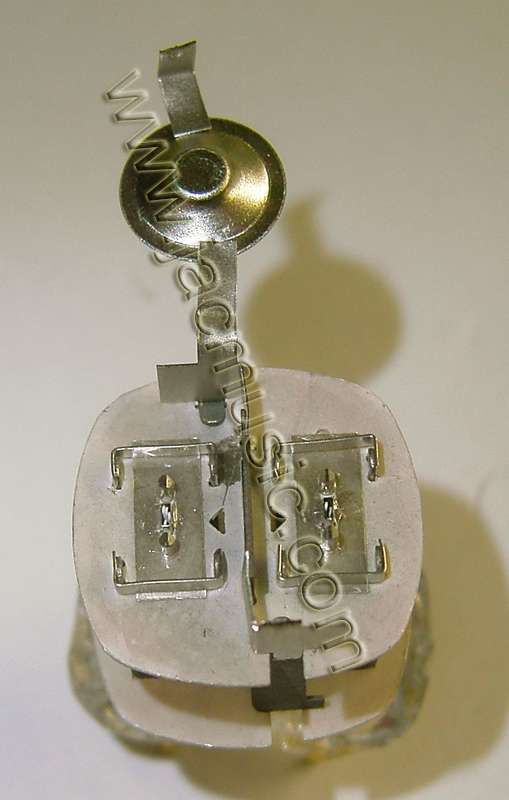
The getter pan is attached from both sides. It is a pan, not a ring, so it has no resonance frequency of it's own. Since this is a high frequency instrumentation tube, this seems to make sense. It is connected to the internal shield, giving some small shielding effect from the top as well |
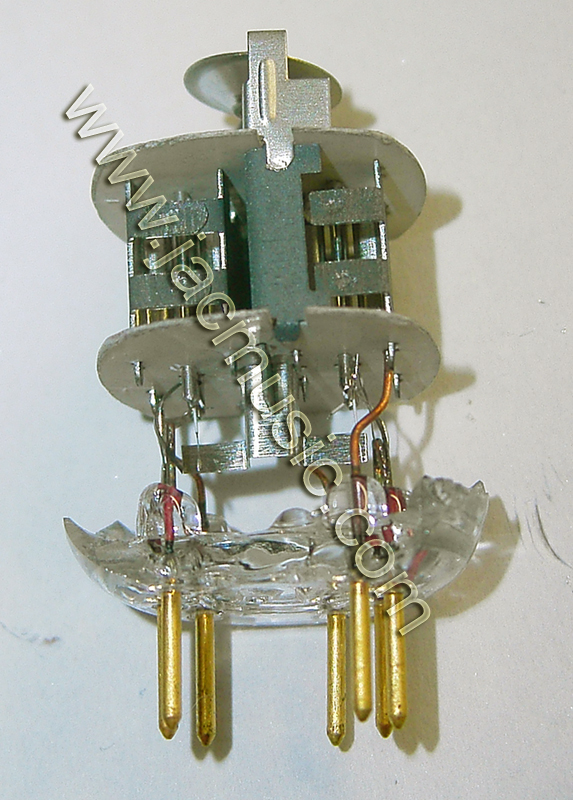 |
The anode (plate) sides are open. That looks nice, but is done for other reasons. It allows heat radiation to escape directly. So any "glow" you can see, was radiated out of the tube inside directly. The most important reason is, they can adjust the plate distance this way. Detail1: Notice the anode is connected to the socket by a red copper wire. This is done to get the heat of the plates out. Detail2: Notice the isolation plate is made of black material. This is the only right way, and was normal with old tunes as well. Still some other tube vendors use cheaper, uncovered shields. Good to see the Russians stick to the old quality. |
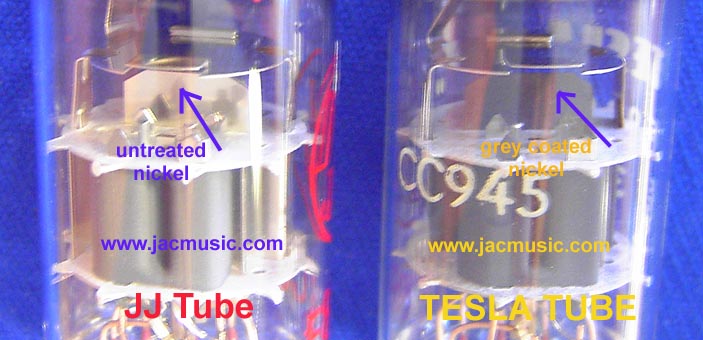 |
Click the left picture so see a JJ tube, with an uncovered (whte) shieled, compared to a TESLA NOS, of course with grey covered shield. (Full report here) Good to see that EHX still uses the old fashioned style shields. |
 |
There is a small mica plate mounted which has the function to align the cathode with the grid precisely. This is the critical part of the tube, the grid-to-cathode distance. It must be really precise. |
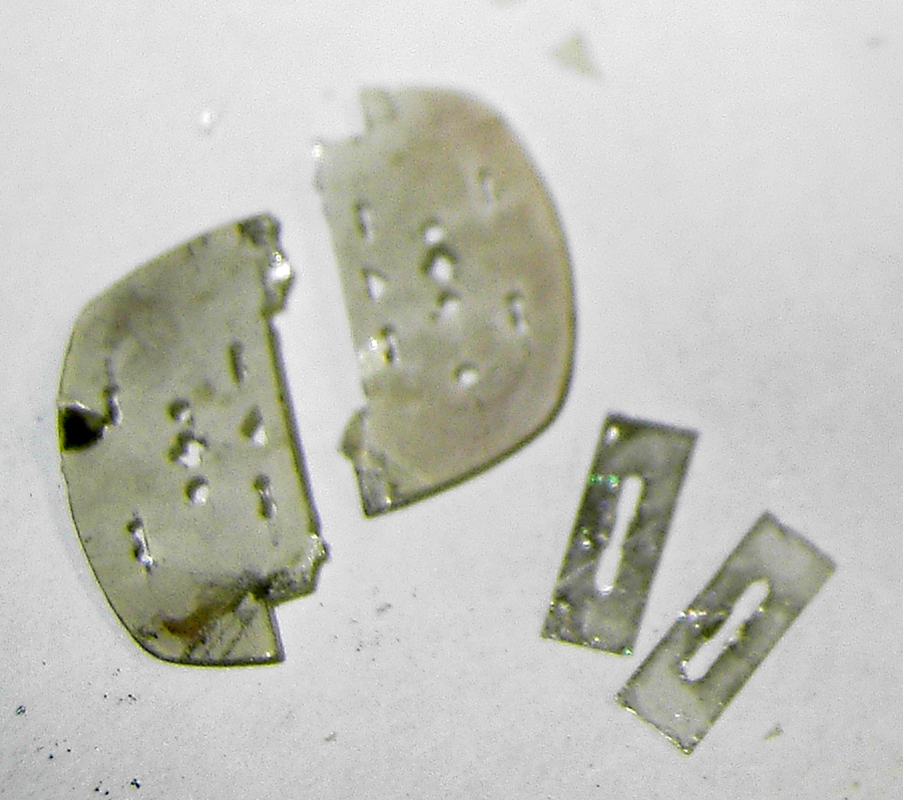 |
Top Mica parts |
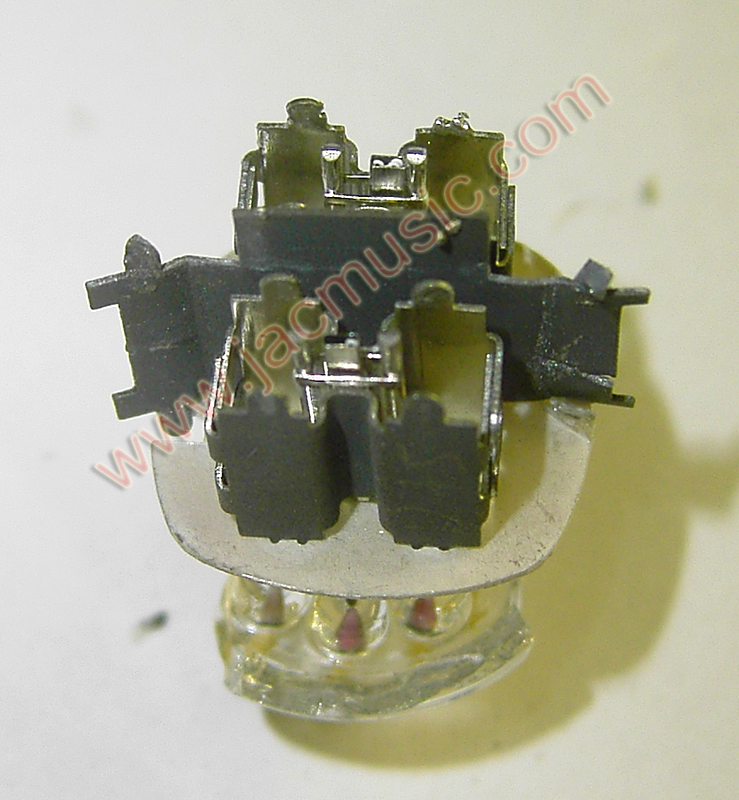 |
Camera picture |
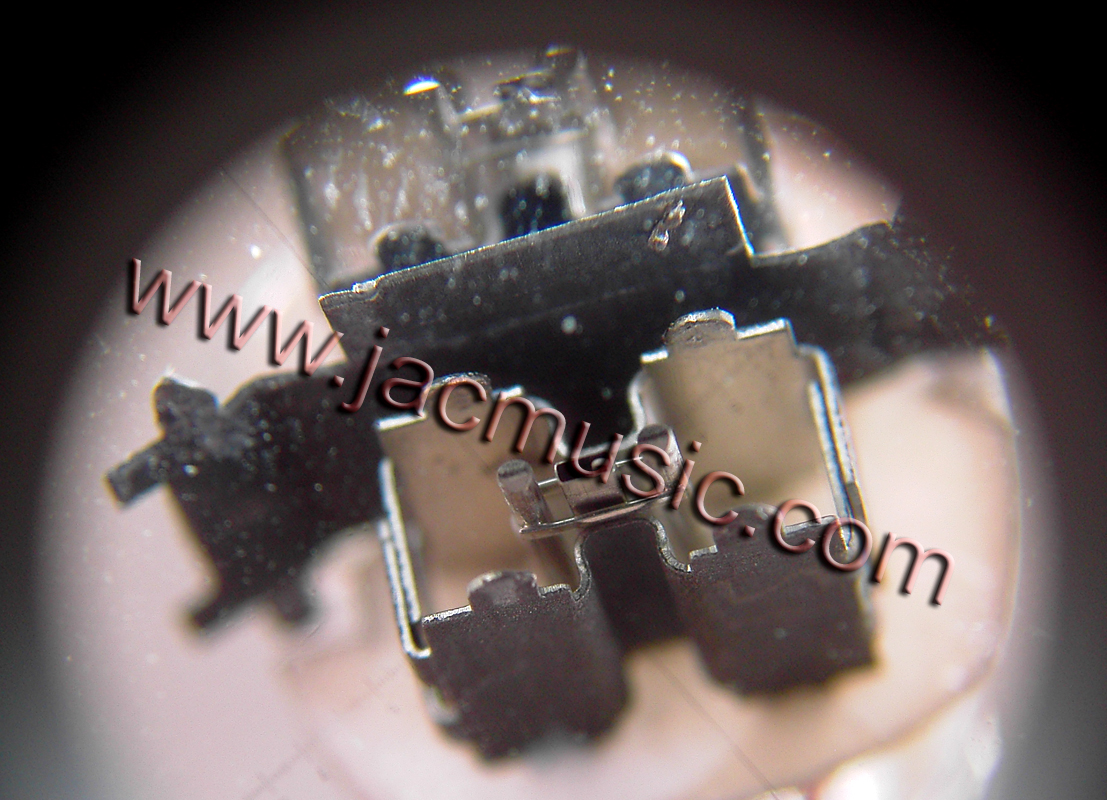 |
Same picture through microscope. Last look inside, before final destruction. |
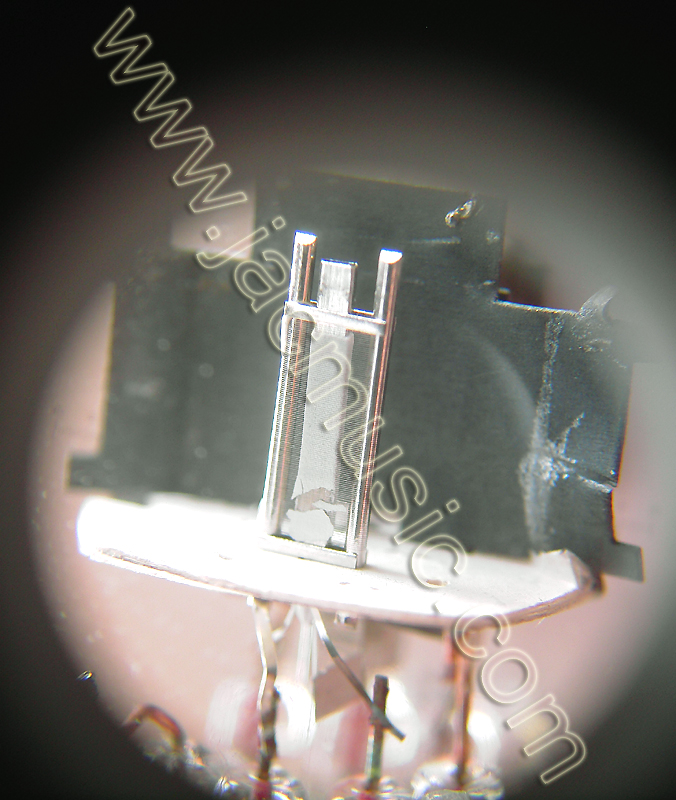 |
Plates are removed. |
 |
Same picture, close up. The fine grid wires can be seen nicely now. Also it becomes clear, that the filament coating thickness plays an important role here. From the bottom, some filament coating fell off. With the naked eye, the grid wire is invisible. Looking through the grid is like looking through opaque plastic foil or so. I tried very hard to see any gold plating on the grid, but the yellow gold color is not visible. |
 |
I don't know if it has much so say, but I noticed all metal parts can be attracted by a maget. |
 |
When you click on this microscope picture, you see the original in maximum resolution. It may take some time to load. There is a precision optical scale overlaid of 0.1mm steps. So what you see here, is the grid wire distance is about 0,07mm and the wire thickness is about 0,01mm, or 10micrometer. To get an idea, this is close to dimensions of a bacteria. The grid is looking optically very well made. Note, what we have here is a FRAME grid. That is done whenever the grid wire is so fine, you cannot make a self-supporting grid anymore. A frame grid is made from a hard metal frame, and the wires are wound around it. Invented by Telefunken as far as I know, and first applied in tubes likes ECC88, and ECC803S. Now I make a discovery. What I noticed here, the grid is obviously glued to the mica. This deals with the unwanted grid rattle, a kind of microphonic effect. If anyone knows what glue of compound that is, I am VERY interested in finding that out. Also where to buy it. CONCLUSION: Electro Harmonix makes a really good quality tube here, and the inside piece parts look amazingly nice build. There is a lot of old craftsmanship inside, a tube like this you can't design from one day to the other. You need tons of special machines and equipment. The grid wire used here is so fine, it is amazing this can be handled at all. |
| Hopefully you like these pictures. It was fun making those. | |
Subscribe or unsubscribe our Mailing List |
|